Ich hab da mal ein Tutorial zusammengeschrieben, alles Auf englisch, da ich das auch drüben gepostet hab. Und ich bin ehrlich, das ist mir jetzt zu viel um zu übersetzen. daher müsst ihr euch was anstrengen. Aber es sind ja auch viele Bilders dabei ![]() Der Lehnenteil kommt in separaten Post.
Der Lehnenteil kommt in separaten Post.
Morning all,
I had to rebuilt/retrim my RS seats. Like the most of them, they were in an awful shape. The cloth was ripped and the bolsters too. I decided to order a set of covering from Aldridge, since I already used them to retrim the rear seats. But the fact, that I'm living in Germany raised the postage cost ridiculously. To stay in budget (and justify the purchase to my wife) I had to retrim them by myself.
After doing a lot of research on the net and not getting too much info, I decided to start. And to make it a bit easier for other guys and gals here is my writeup:
Tools I used:
diagonal pliers
regular pliers
hammer
cutter
special trimmers plies
Adhesive:
Würth Power Spray Glue Plus
Additional items:
Stainless steel tension wire 3mm (used for fence construction)
OK, starting to rip of the old covers were straight forward since I already bought them that way. Aldridge offers now new side bolsters for the base seat, which I bought in order to repair the drivers seat and those set me back 40 pounds plus tax.
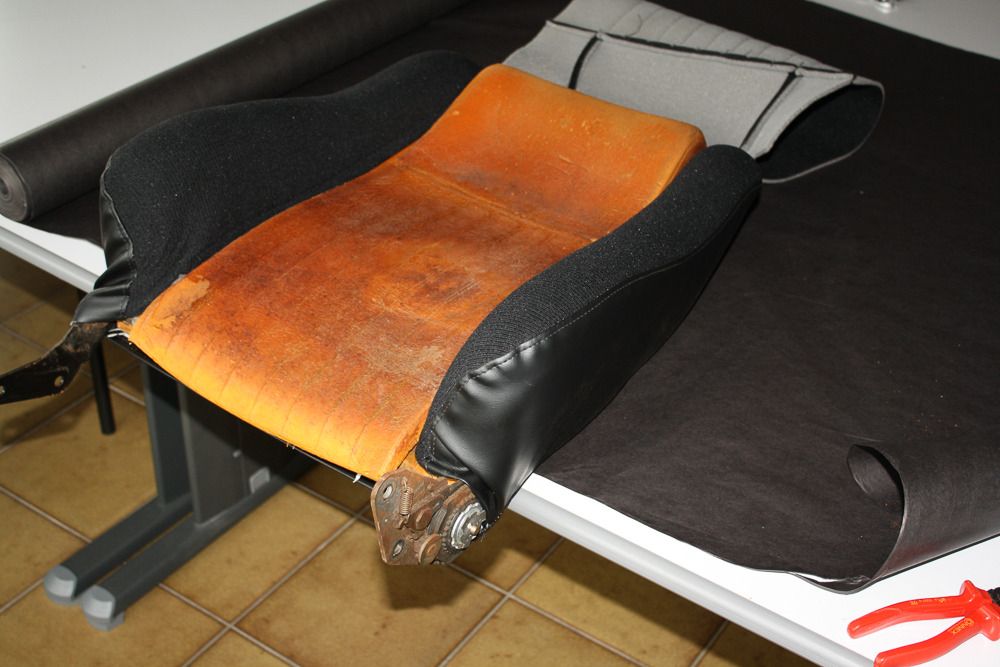
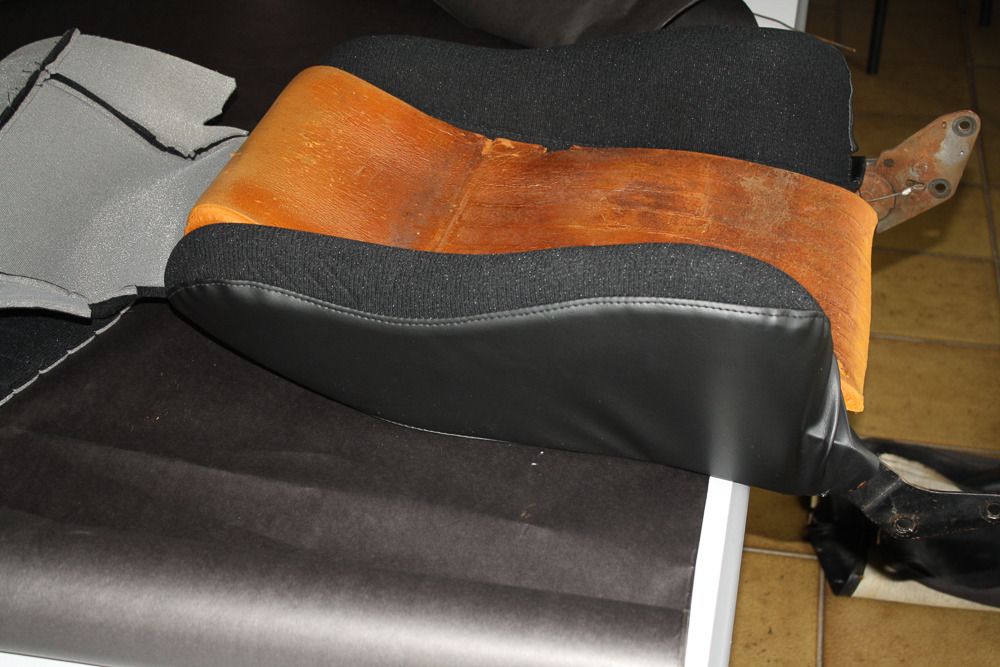
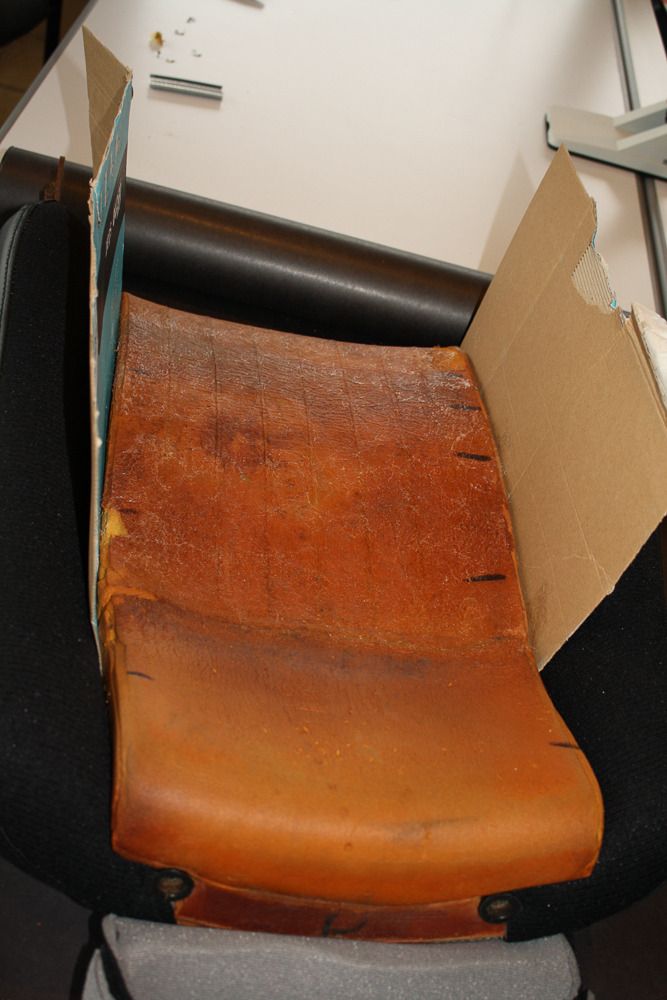
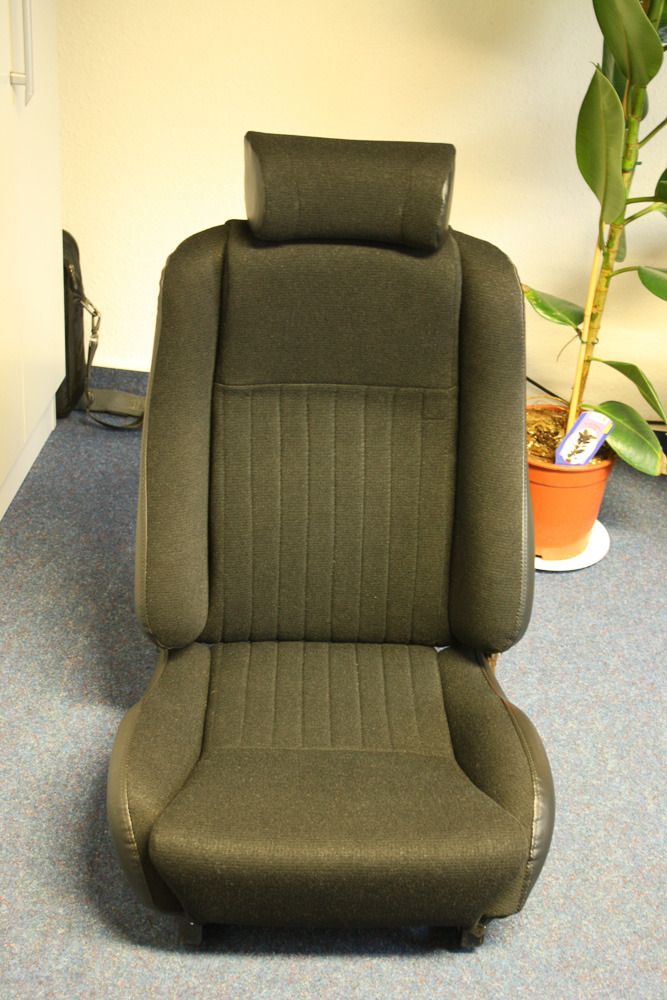
So this was the base seat of the (german) drivers side. Didn't look too bad, eh?
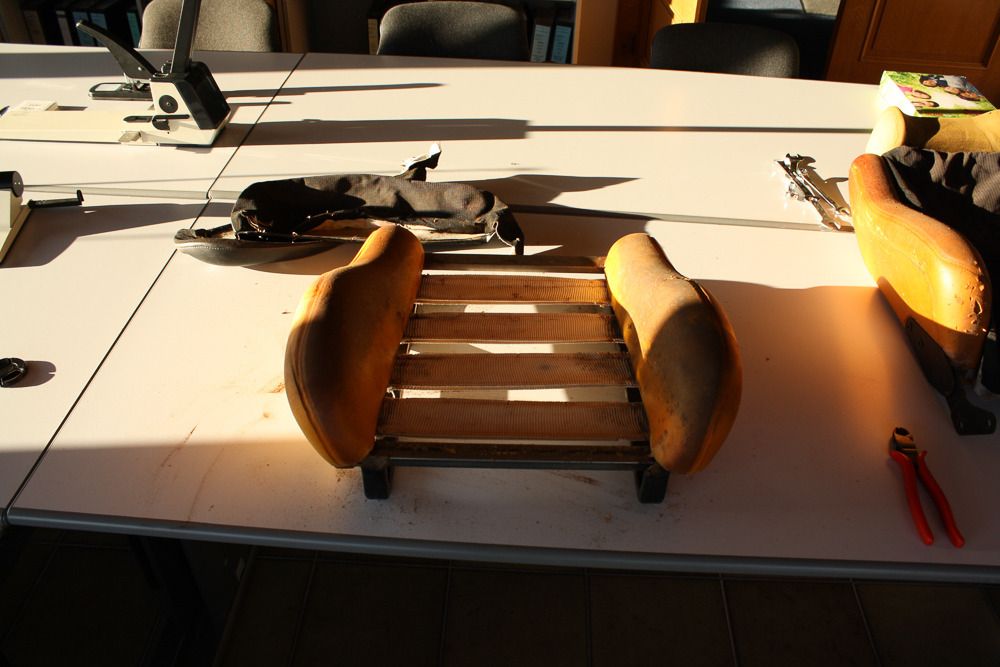
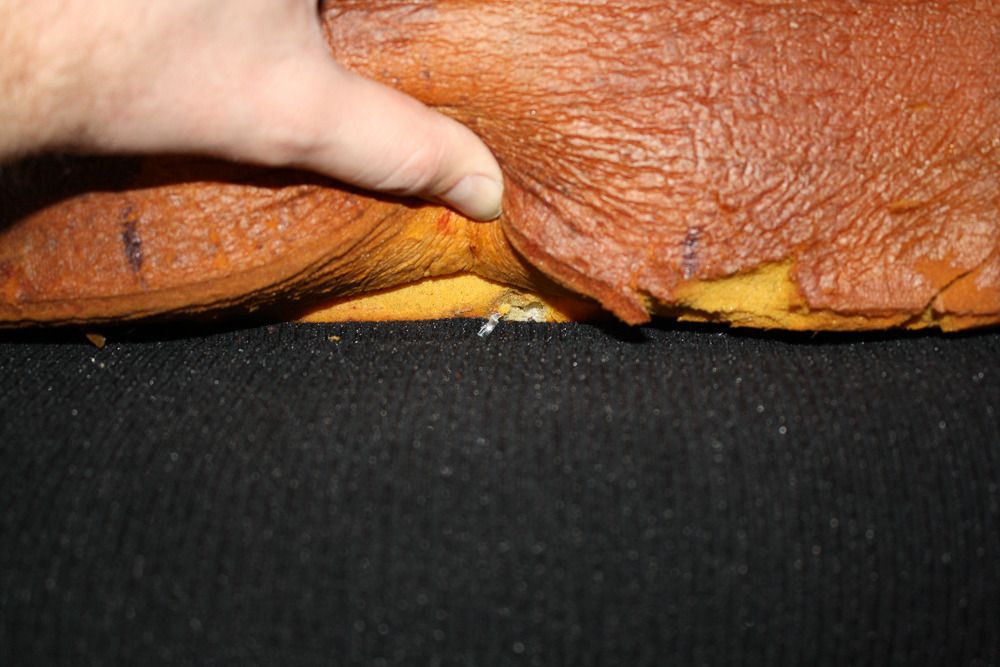
After a closer look the side was torn, so get away with this.
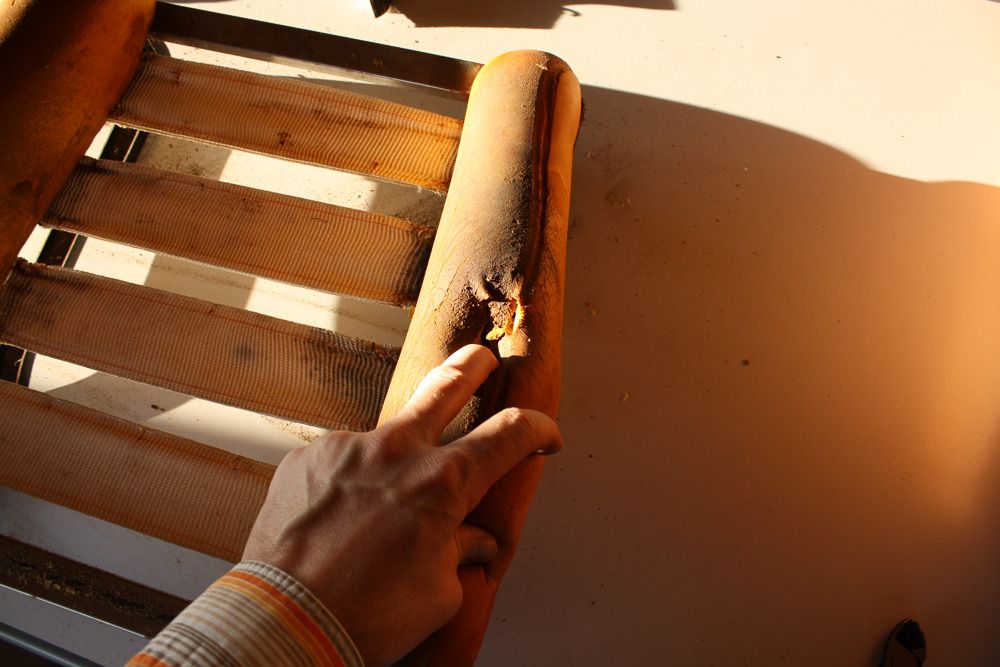
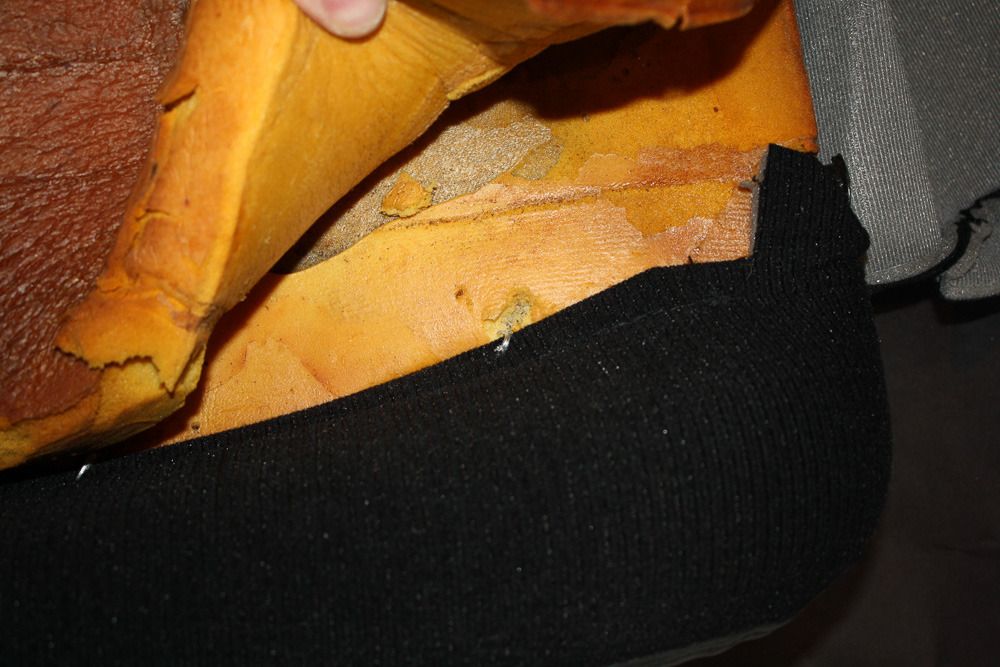
The sides were glued to the metal subframe. Nothing what a nice cutter couldn't solve
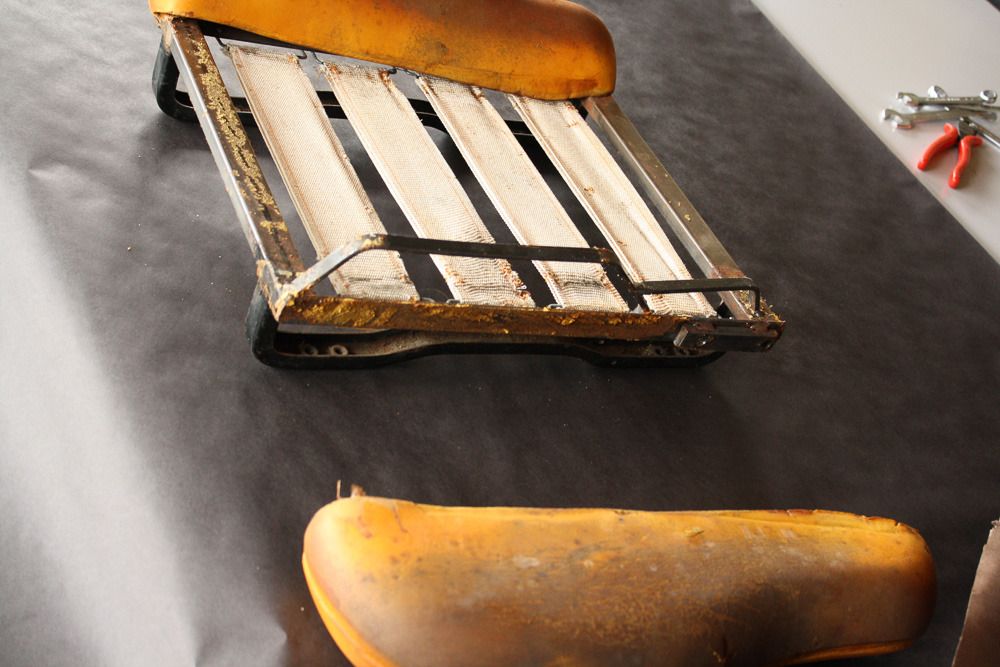
The new ones were not actually a perfect fit, but it worked out. Sprayed the adhesive to the seat frame and inside the new bolsters. To fix it properly to the subframe I did this in two steps. First: Spray it into the bolster and on the main frame. Then let this dry for at least an hour. Second step: Spray the adhesive to the subframe in front of the mounting threats for the upper seat and the "bend" the foam back to the subframe. So you can archieve a nice passage from bolster to subframe.
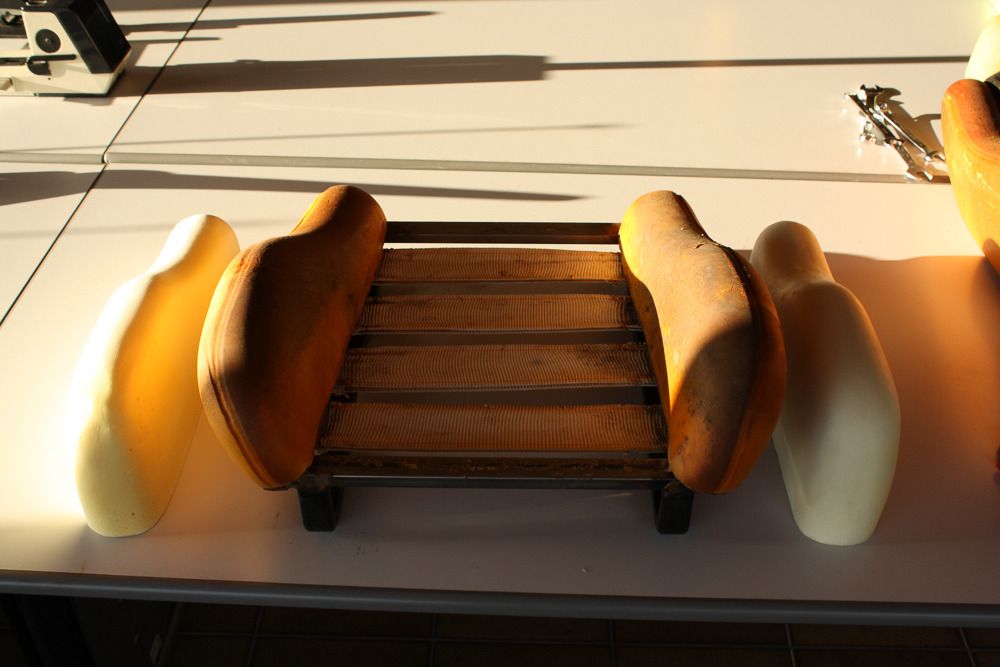
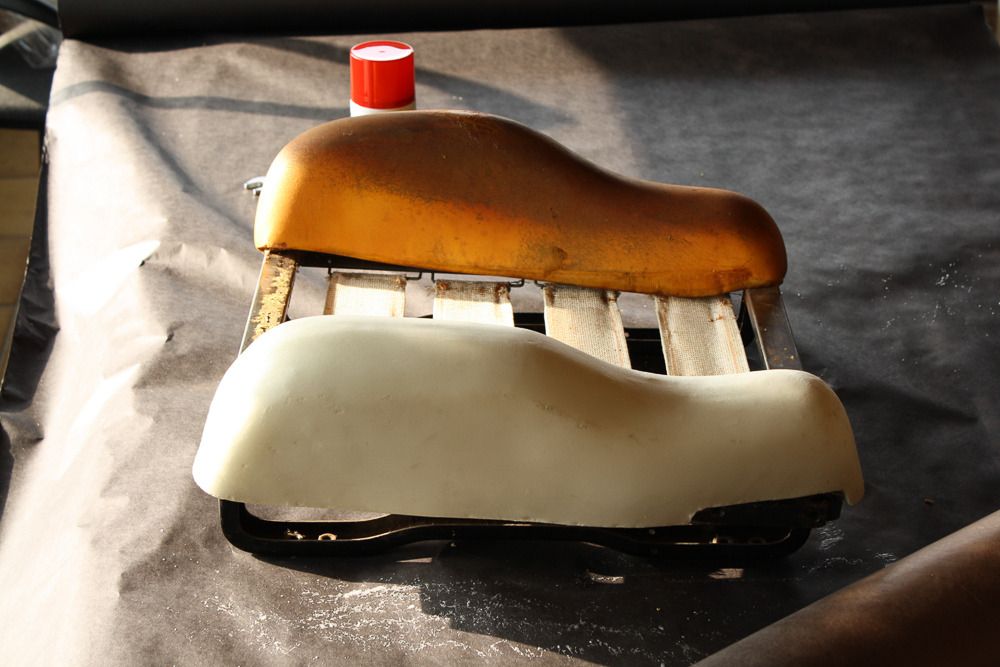
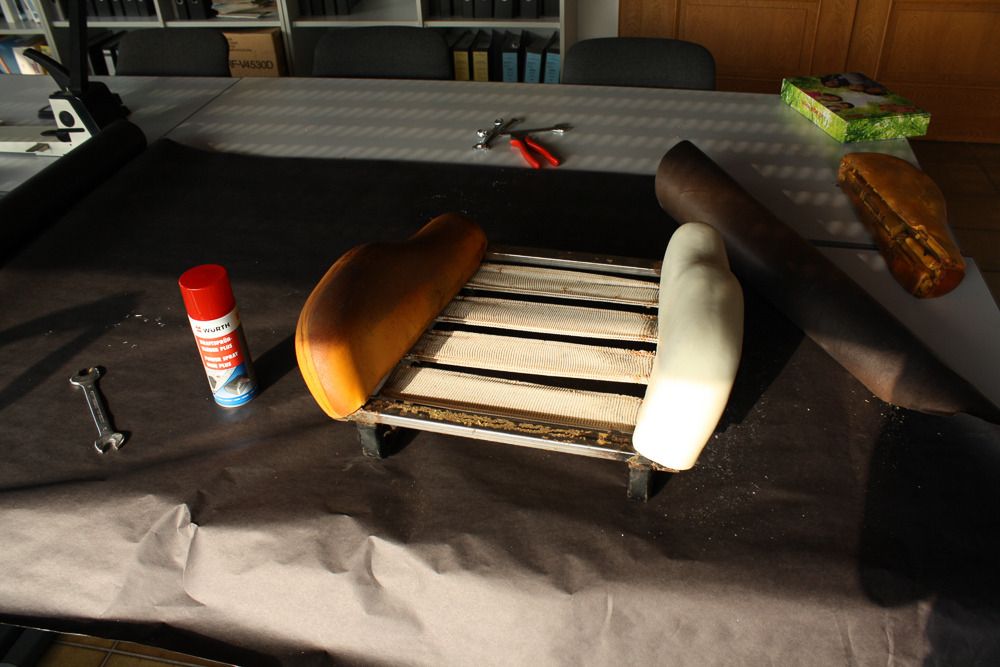
Next step was first trial fit of the new cover. Looked good so far. But the old covers had tension wire in it to fix the covers to the rubber bands of the subframe. Since the old ones were really rusty I decided to replace them with stainless steel ones. Due to beeing a construction side engineer i took tension wire which is used for outside fencing.
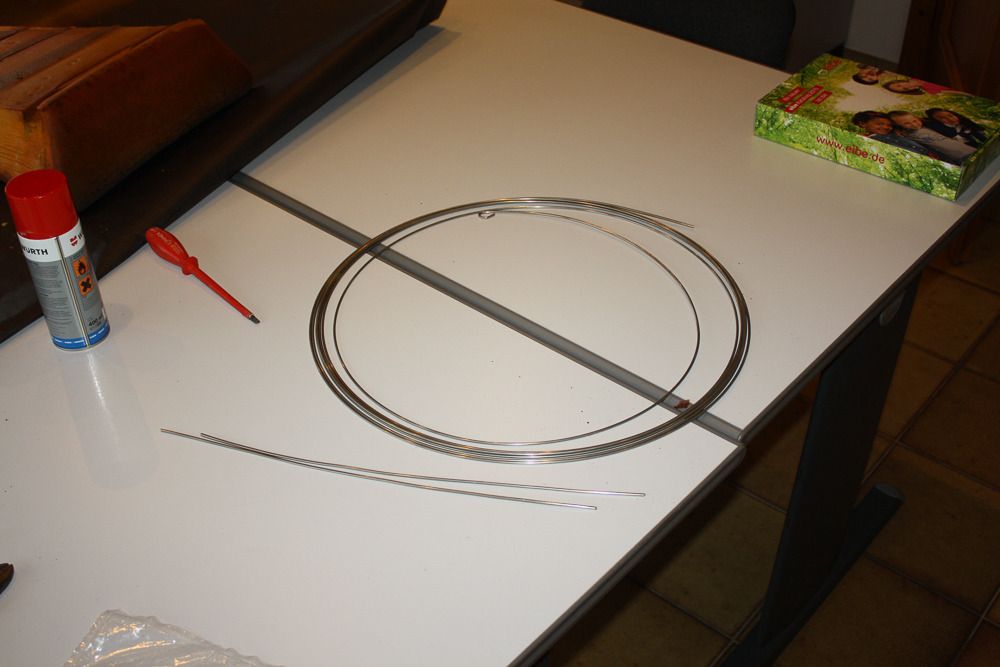
7 Euro/10 mtr. sounded good, too
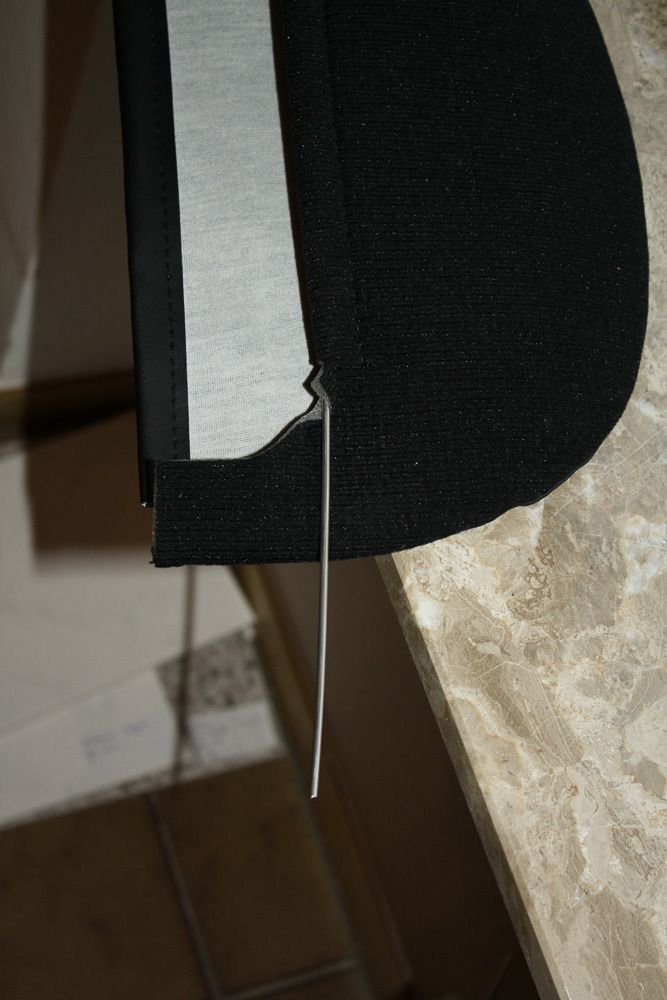
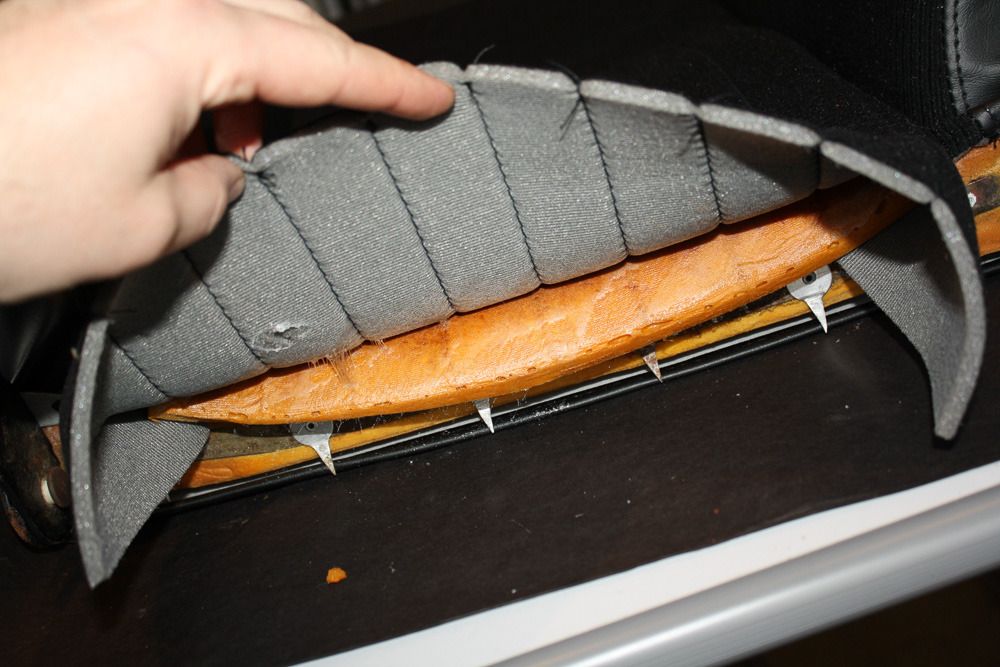
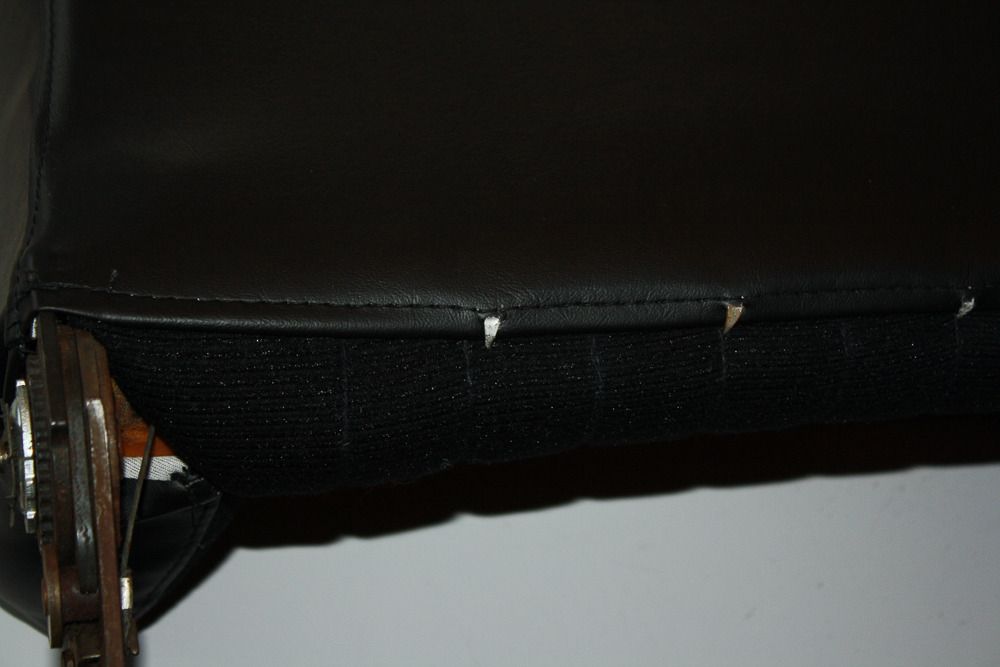
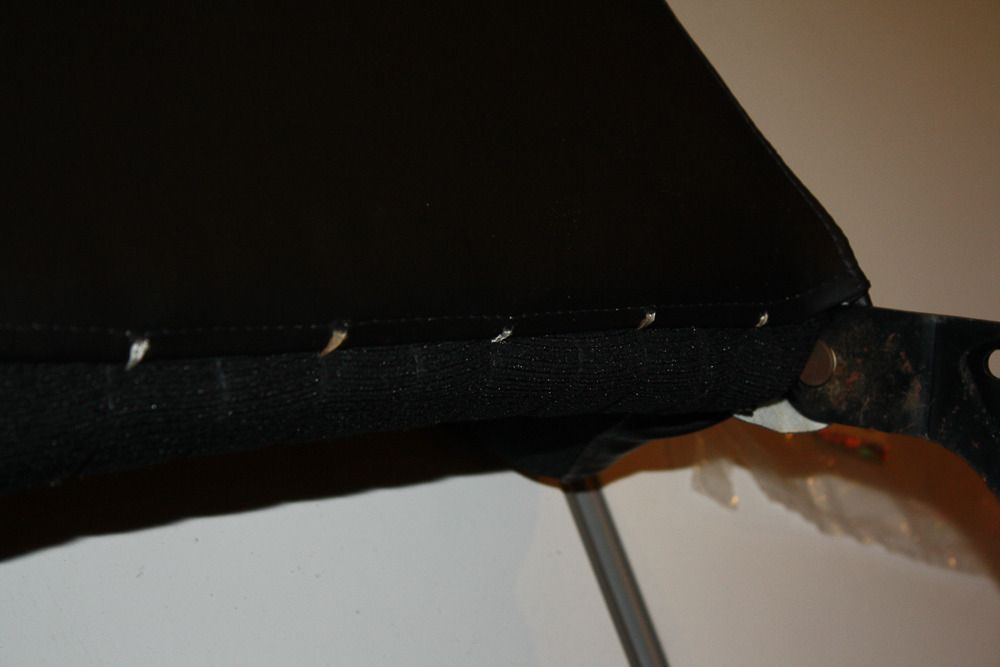
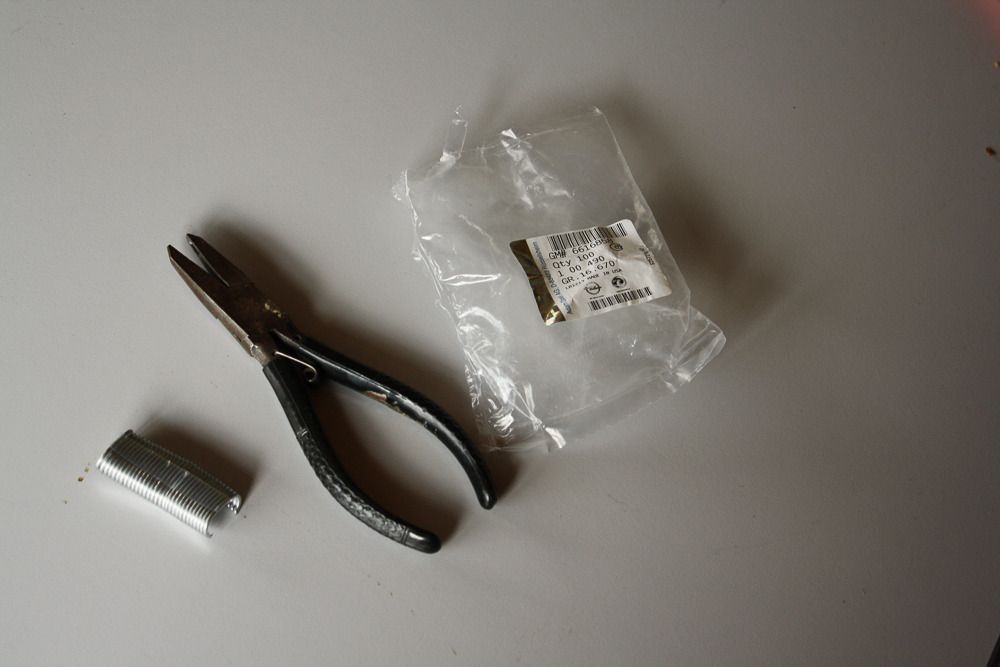
I first fitted the vinyl part of the side covers to the metal clamps of the rubber bands with the special metal clamps and the pliers.
After that I turned the seat base and strapped the side covers of the bolsters and fixed it (with a fair amount of force ) to the rubber strips.
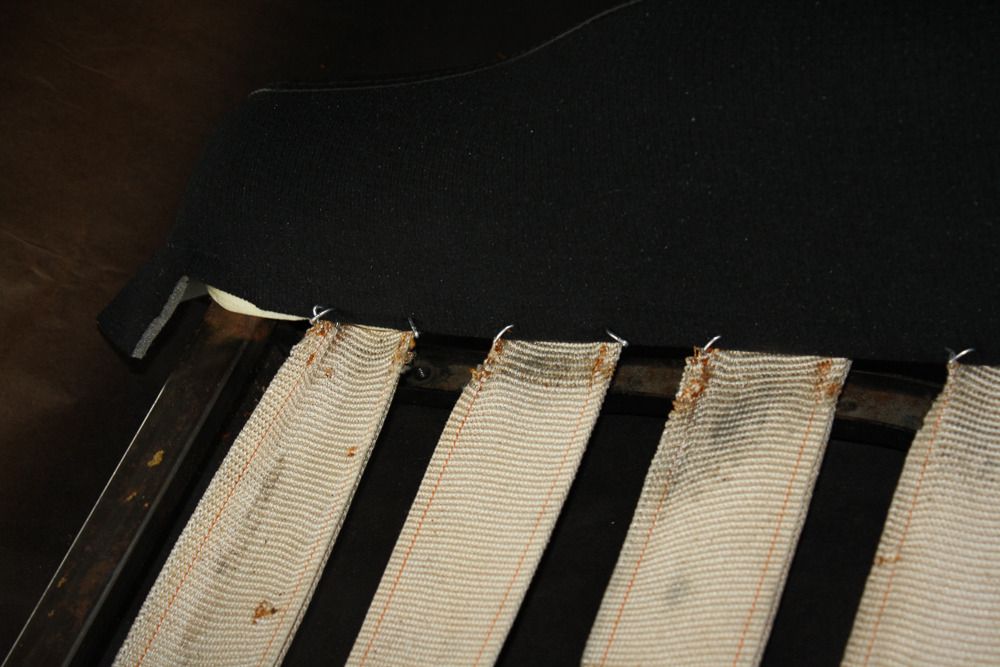
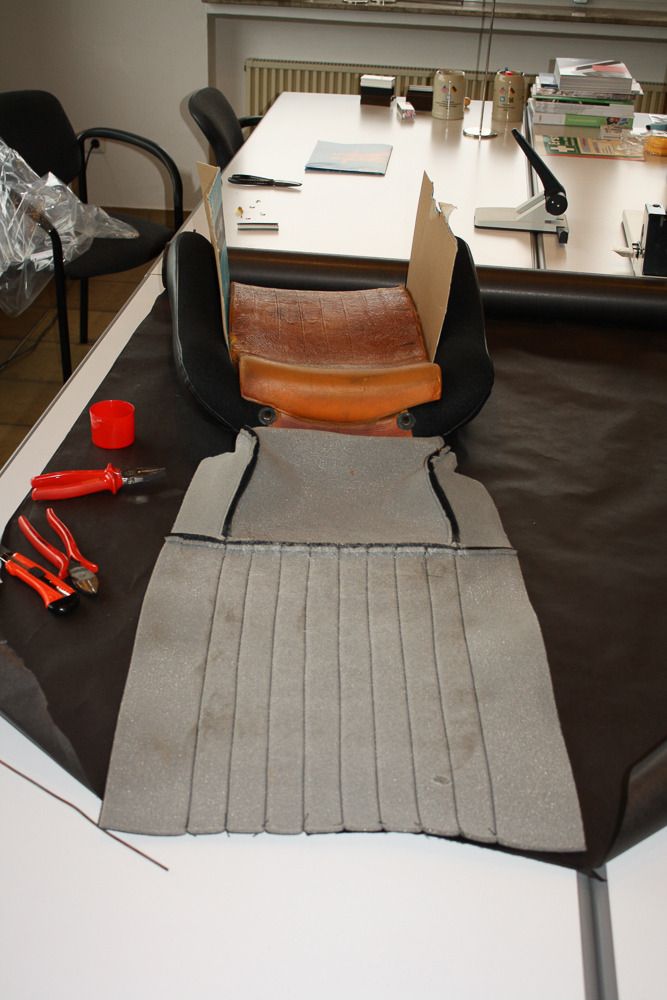
the last part of the base would be fixing the cover to the foam filling. Therefore I turned the cover inside out. There is a cross seam on the cover separating the glued section from non glued one. Unfortunately I forgot to take a picture of that part. Actually its the same like in the upper part of the seat ... Spray on richly the glue to the "striped" part of the cover. Wait in accordance of manufacturer instructions (in my case 5-15 minutes)
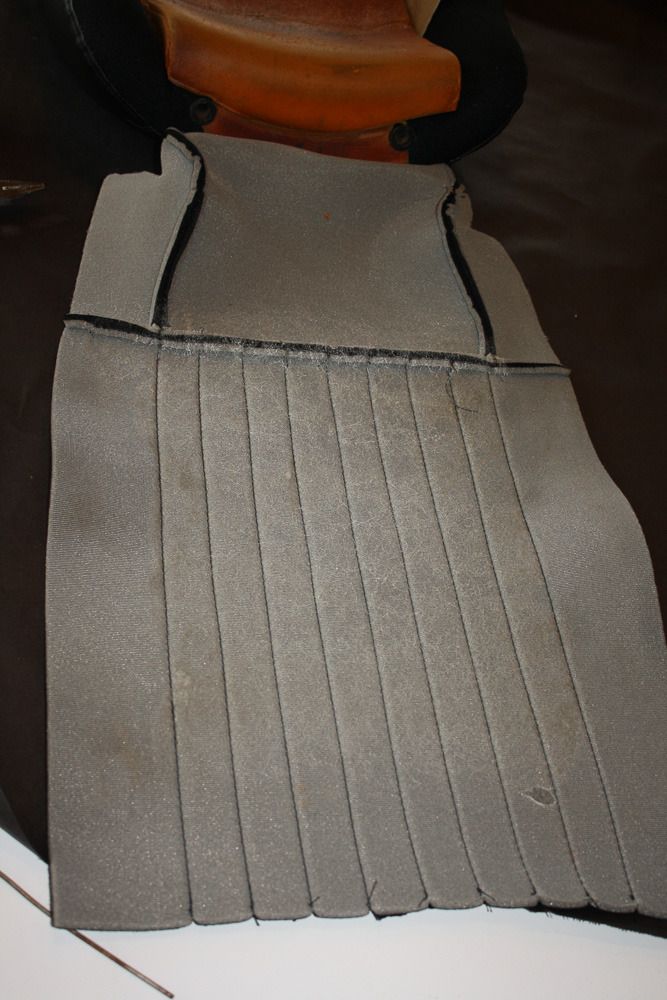
First be sure, that the seam of the cover will meet the mark in the foam!!! Attach the cover with the "striped" part first to seat (be aware that the glue is very strong), first attempt has to fit! Make sure, that the lines will be parallel with the foam. After this is fixed, do the rest of the base foam (Easy since it only has to get folded )
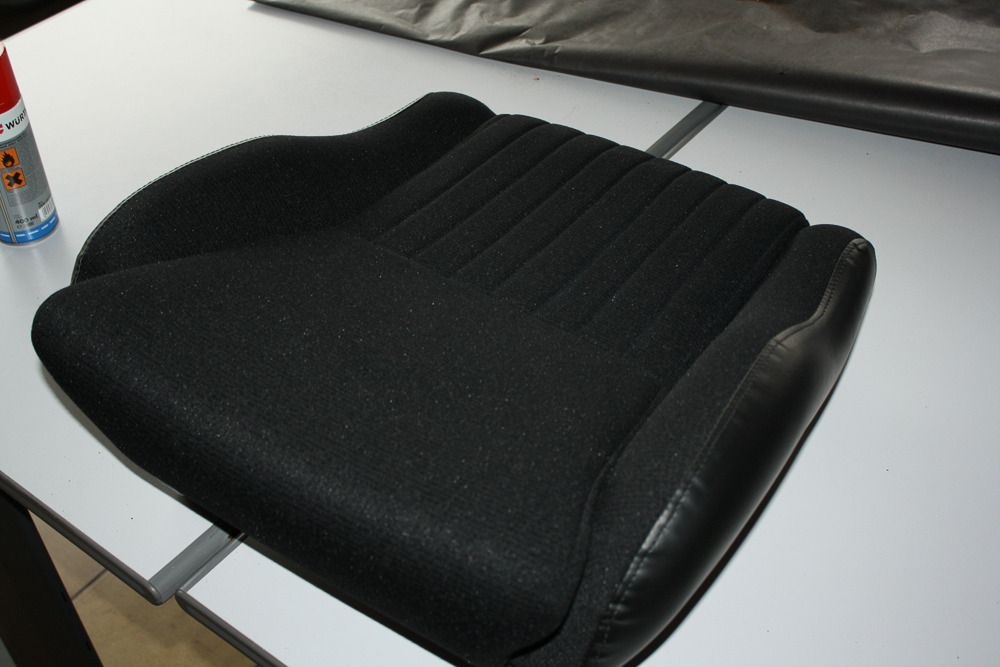
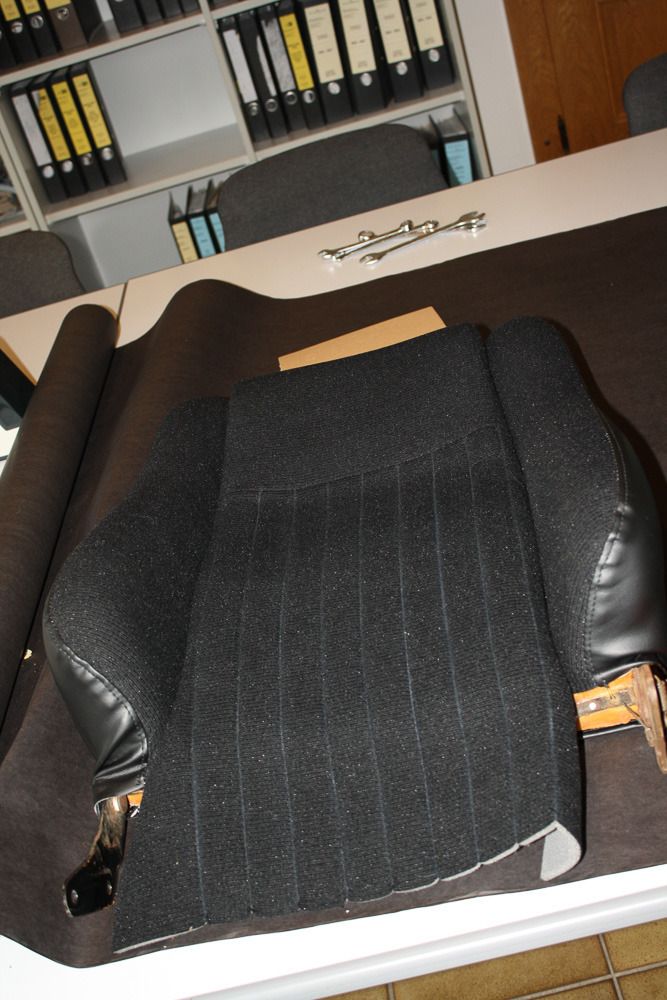
Then just lay the so covered foam back in place, turn the base over and fix the cover (pull it strongly) with the metal clamps to the rubber strips of the seat. Do the same to the front end.
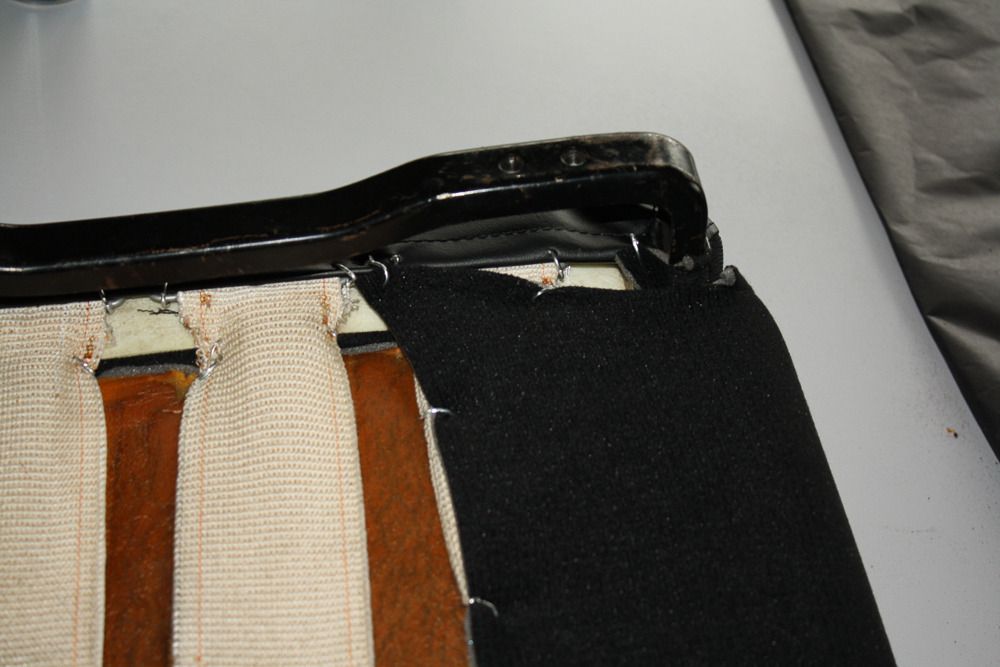
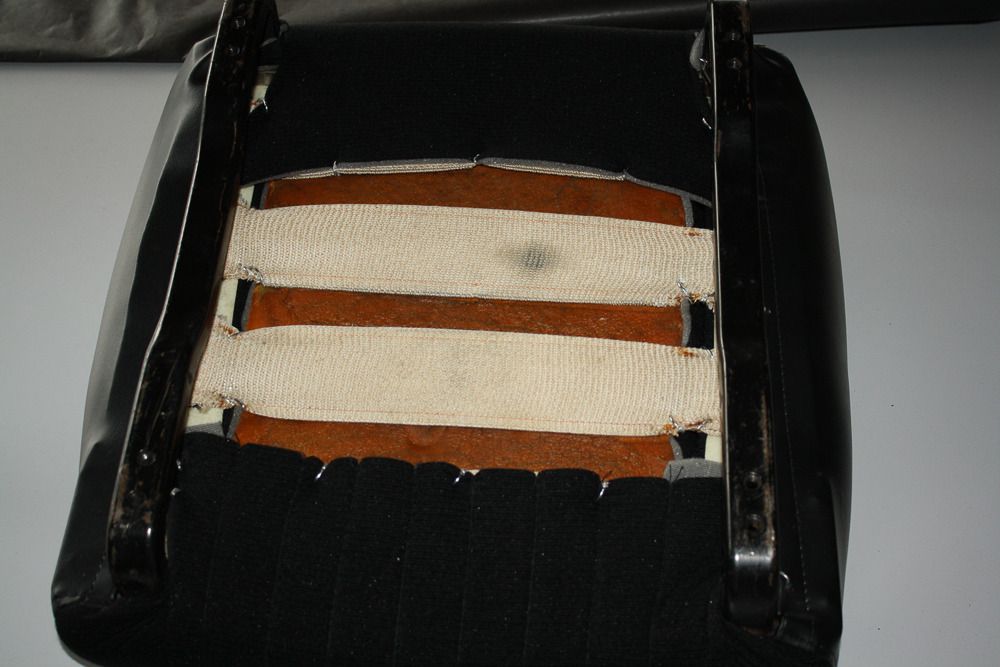
Thats it for the base ... and was the easy part. The upper part (the back) would be more difficult. Now go and get yourself a beer (or two).
More to follow.


